
Don’t toss it out just yet.
A simple deep clean could be all it needs to start spinning smoothly again.
I won’t lie. It is a bit of work.
But once you know how to clean a record player the right way and you’ve done it once or twice, the process becomes much faster and easier.
So keep reading to learn exactly how to clean your turntable record player and its various components, to keep it running in perfect order.
Contents
How To Clean A Record Player
Many people assume their turntable just needs a quick dusting to stay in shape. But over months and years of regular use, layers of dust, dirt and grease can accumulate both inside and out, slowly degrading sound quality.
In this guide, I’ll reveal the full cleaning process that professionals use to bring record players back to life. From tools you’ve probably never thought to use, to hidden areas in need of a good scrub, you’ll be amazed at how well your dusty deck can perform once fully restored.
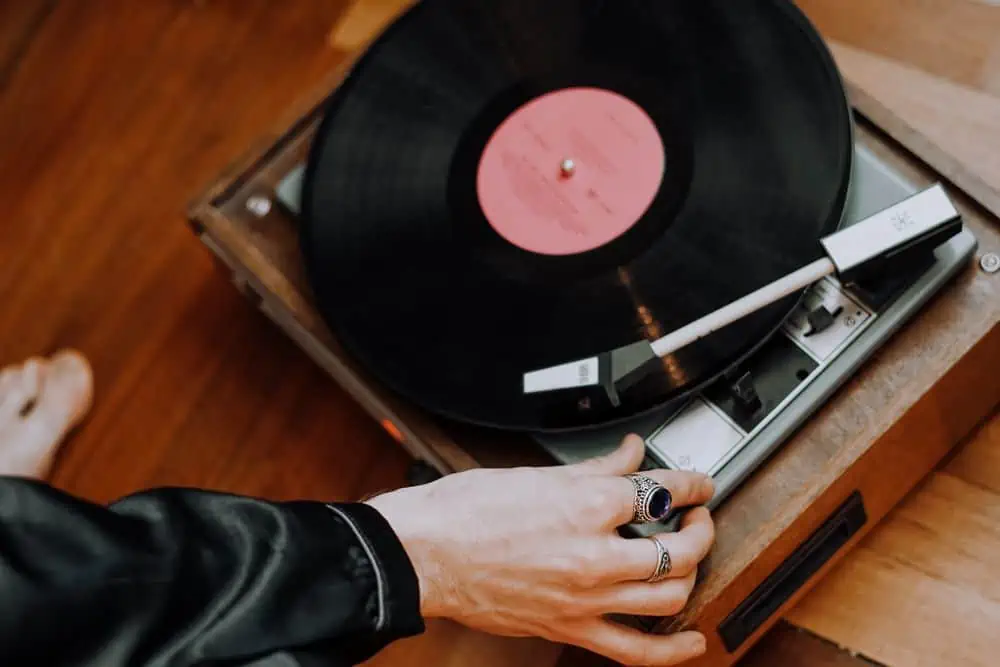
Follow these steps to breathe new life into your turntable and fall in love with your vinyl all over again!
Materials Needed
Before you dive straight in and begin cleaning your record player, it’s a good idea to first gather the necessary materials. Here’s a list of items you’ll need to ensure your record player gets the thorough cleaning it deserves and/or needs.
- Soft, lint-free cloths: These are essential for wiping down your turntable and delicate components without leaving behind any fibers or lint.
- Isopropyl alcohol: Use an isopropyl alcohol solution, or a dedicated record player-cleaning solution, to remove any stubborn dirt, dust, or grime from your record player’s surfaces.
- Distilled water: It’s important to use distilled to mix with the cleaning solutions, to prevent any mineral deposits from forming on your record player.
- Stylus brush: A small, soft-bristled brush specifically designed for cleaning the stylus and tonearm will help maintain the quality of your records. This one is good.
- Belt cleaner: A specialized cleaner for the turntable belt will help ensure smooth and uninterrupted playback.
- Lubricant: High-quality lubricant suitable for record players is essential for maintaining the smooth operation of any moving parts.
Step 1: Dust The Turntable And Components
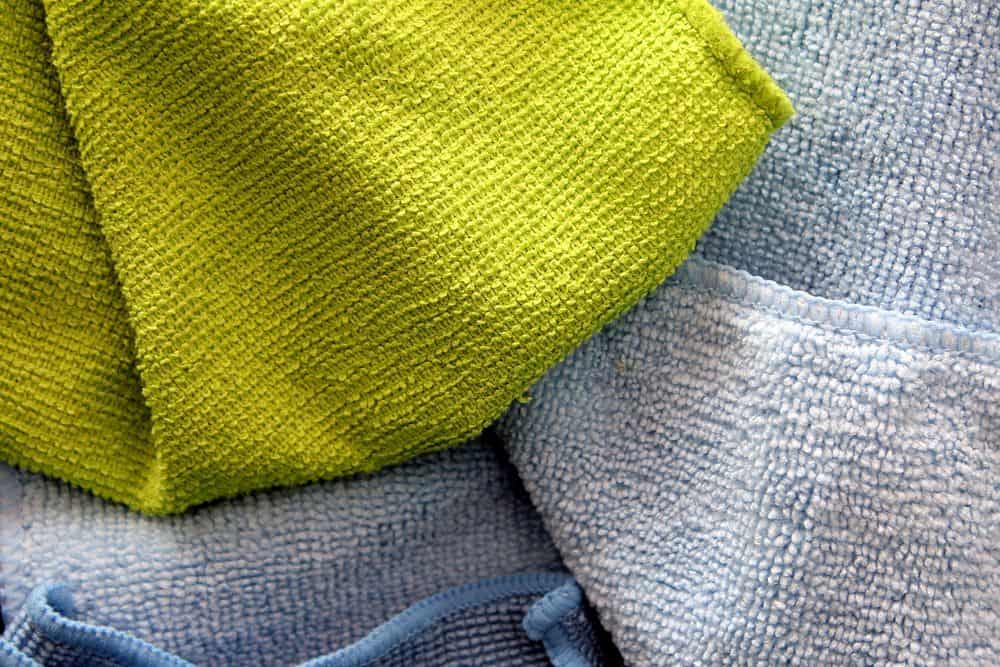
The first step is nice and easy. You just need to remove any dust that has gathered on your record player. Dust and debris can accumulate on the turntable over time, affecting the sound quality and potentially causing damage to delicate parts and your records.
Here is how you effectively dust the turntable and its components.
- Power off the Record Player: Before you start, ensure that your record player is turned off and unplugged from the power source to avoid any accidents.
- Remove the Dust Cover: If your record player has a dust cover, carefully remove it and set it aside in a safe place. This will allow you easier access to the turntable and its components.
- Use a Soft Cloth: Gently wipe down the turntable and components with a soft, lint-free cloth to remove any loose dust or debris. Take care to reach all the tight areas, including the platter and tonearm.
- Clean the Dust Cover: While the dust cover is removed, take the opportunity to clean it using a mild solution of water and a small amount of dish soap. Use a soft cloth to avoid scratching the cover, and ensure it is completely dry before placing it back on the record player.
Step 2: Clean The Stylus And Tonearm
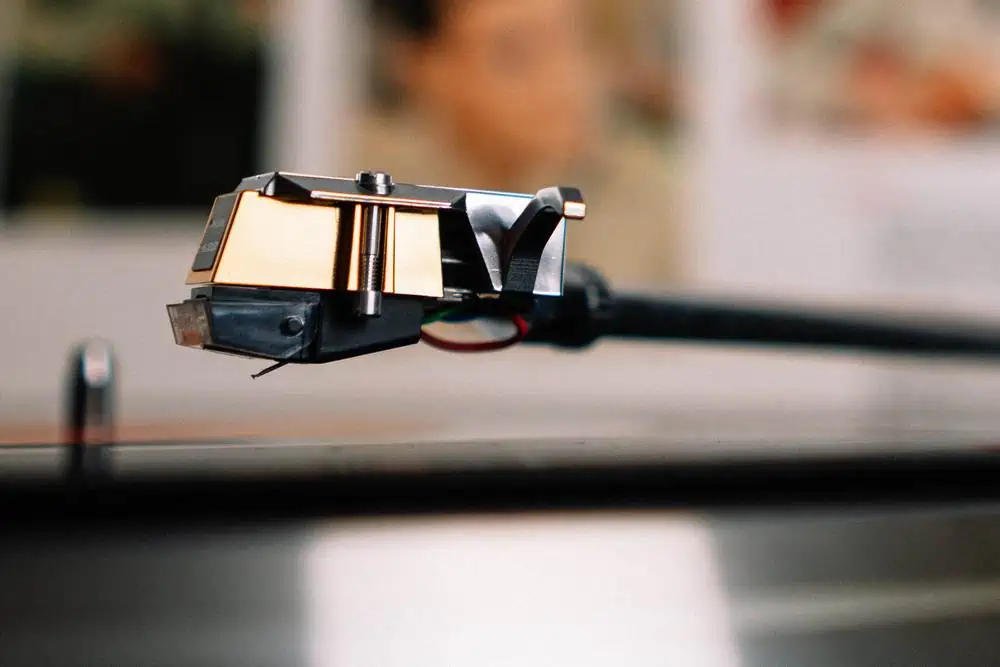
Once you have removed all the dust from the external surfaces of your record player, it is time to start cleaning the individual parts a little more thoroughly. Next up, how to make sure your record player’s tonearm and stylus are nice and clean.
- Access the Stylus: Depending on the design of your record player, you may need to carefully lift the tonearm to access the stylus. Take caution to avoid putting too much pressure on any delicate, moving components.
- Use the Stylus Cleaning Brush: Gently brush the stylus from back to front with the stylus cleaning brush. This motion helps dislodge any dust or debris without pushing it further into the stylus and prevents damaging the delicate cantilever.
- Apply Stylus Cleaning Solution: Apply a small amount of the stylus cleaning solution to the brush or a specialized applicator, and carefully clean the stylus to ensure any remaining particles are removed. Be sure to follow the manufacturer’s instructions for the cleaning solution.
- Clean the Tonearm: Using a soft, lint-free cloth, moistened with a small amount of distilled water, gently wipe down the tonearm to remove any dust or residue. Take care not to apply excessive pressure or to let any water get into the internal components.
Step 3: Clean The Turntable Belt
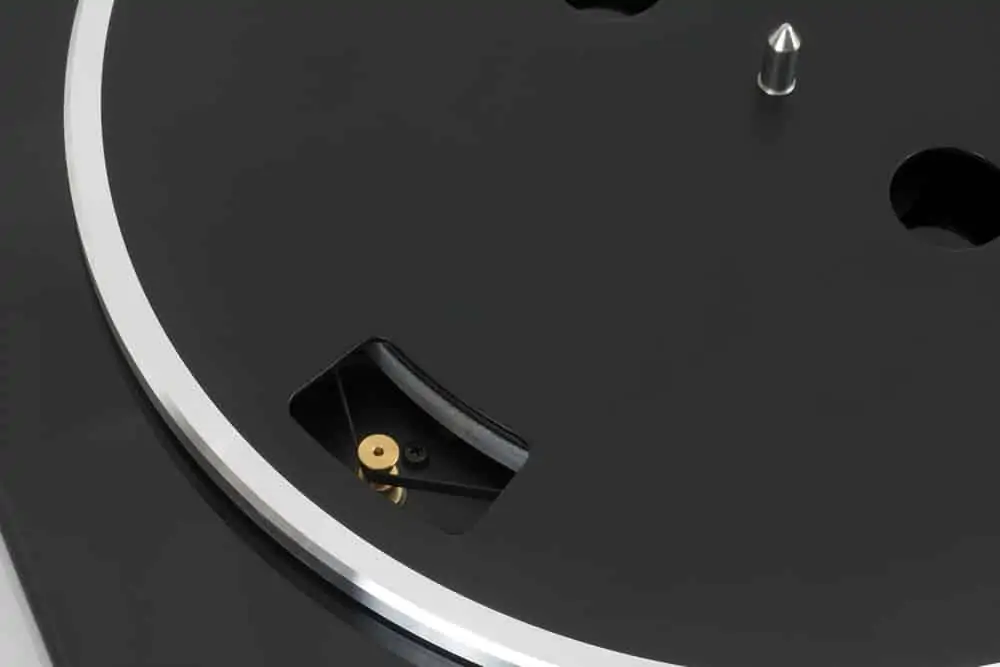
Next, it’s time to delve a little deeper into the inner workings of your record player and give the turntable belt a good cleaning. Over time, the turntable belt can accumulate dust and debris, affecting its elasticity and overall performance. Here’s how to find and clean your turntable belt.
- Access the Turntable Belt: Depending on the design of your record player, you may need to remove the platter to access the turntable belt. Carefully follow the manufacturer’s instructions for safe removal and handling of the platter.
- Remove the Turntable Belt: Gently remove the turntable belt from the motor pulley and the inner rim of the platter. Take care not to overstretch or damage the belt during this process.
- Clean the Turntable Belt: Using a soft, lint-free cloth lightly dampened with distilled water, gently wipe down the turntable belt to remove any dust and debris. Take care not to use any harsh chemicals or excessive force that may damage the belt or pull it out of shape.
- Allow the Belt to Dry: Once clean, allow the turntable belt to air dry completely before reinstallation. Ensure that there is no moisture remaining on the belt to prevent any potential slippage or damage during operation.
- Reinstall the Turntable Belt: Carefully reinstall the turntable belt onto the motor pulley and the inner rim of the platter, following the manufacturer’s instructions for proper alignment and tension.
Step 4: Lubricate Components

Over time, the moving parts of your record player may experience friction and wear, which you can help with proper lubrication. For this step, you’ll need the lubricant and a soft cloth.
- Identify Moving Parts: Refer to the manufacturer’s instructions or the record player’s manual to identify the specific points that will need lubricating. Common areas include the spindle, motor bearings, and any other moving parts specified by the manufacturer.
- Use High-Quality Lubricant: Select a high-quality, record player-specific lubricant that is suitable for the components of your particular model. Avoid using general-purpose lubricants that may not be compatible with the materials used in record players. Check the manufacturer’s guidelines for any recommendations.
- Apply the Lubricant: Using an applicator or a lint-free cloth, apply a small amount of the lubricant to the designated points. Take care to apply the lubricant sparingly. Using too much can lead to buildup and will attract dust, potentially causing new operational issues.
- Distribute the Lubricant: After applying the lubricant, gently rotate the moving parts by hand to ensure the lubricant is evenly distributed and reaches all necessary nooks and crannies. This helps to maintain freer movement and reduce friction, leading to smoother playback.
- Wipe Off Any Excess: After lubricating the moving parts, use a clean, lint-free cloth to carefully wipe off any excess lubricant.
How To Clean Your Turntable: Final Thoughts
With regular cleaning following these steps, your record player should stay in top operating condition for many more music-filled years to come. Preventing dust and grime buildup through occasional maintenance of your turntable will save your components from premature wear.
And you’ll be rewarded with optimal sound quality and reliability from your trusty turntable. Now that you know how to clean a record player correctly, don’t hesitate to deep clean as needed.
The improved playback will remind you why vinyl remains such an engaging listening experience. I hope your newly refreshed record player will give you many more enjoyable listening sessions. Most of all, have fun!
Leave a Reply