
Some, like suitcase turntables or all-in-one units are ready to play right out of the box.
But that convenience comes at a cost. These players never sound good.
You can hook them up to external speakers and improve the situation, but then you will need to do setup work again.
You might as well just buy a real record player and enjoy much better sound quality.
And once you know hot to set up a record player, it’s not really all that much work.
Keep reading to learn exactly what you need to do to get your vinyl record player set up and ready to play your favorite albums.
Contents
- 1 How To Set Up A Record Player
- 2 Vinyl Record Player Setup: Final Thoughts
How To Set Up A Record Player
Before we get into the actual steps of setting up your record player, we’re going to go through the items you will need to complete the task.
Materials Needed
In order to properly set up your turntable and get it ready to play records, you are going to need the following items.
Turntable
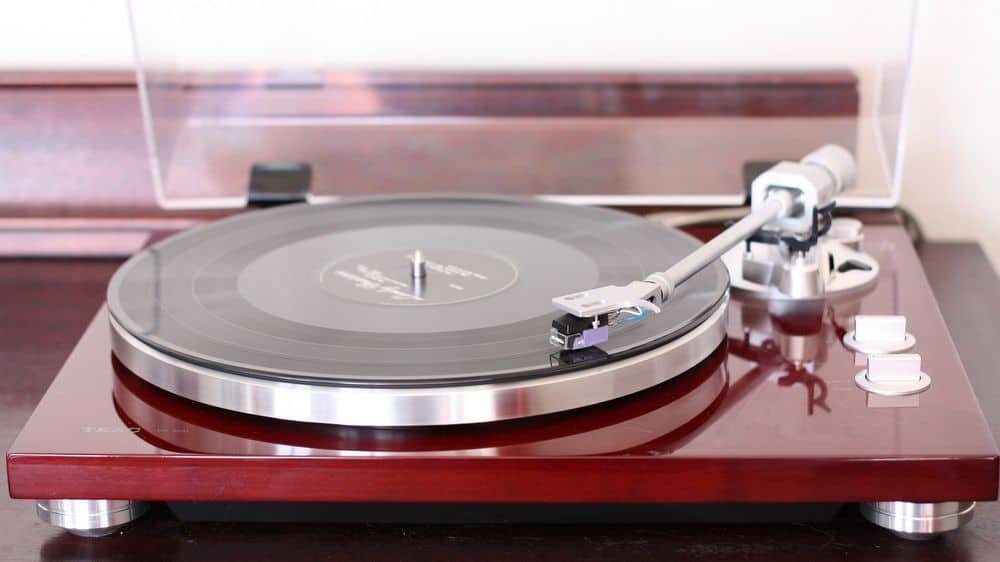
Any decent turntable will do. That said, this setup won’t be relevant if you have one of those cheap portable suitcase record players. Some turntables have built-in preamps, and some do not. You should find out which one you have before you start to set it up.
To find out if yours has a preamp, just look at the back of the unit and see if there is a switch that says phono or line or something similar. If you see a switch like that, your record player has a built-in preamp.
Preamp
If your record player has a preamp, you don’t need to have a separate one. Of course, stand-alone preamps are much more desirable, because they tend to sound much better than built-in preamps. So, a stand-alone phone preamp is optional, but recommended, if you can afford it.
To further confuse things, many older receivers (and some new ones) have a dedicated phono input, which is essentially a preamp built into the receiver. We will go over how this all works together, don’t worry.
Receiver Or Amplifier
To hear sound from your turntable you will need to have an amplifier or receiver. The difference between an amplifier and a receiver is actually quite simple.
Amplifier
A true amplifier only does one thing: it amplifies a line-level signal to speaker level. Line level is the voltage that is output from normal audio devices like CD players, DVD players, even TV outputs, or cassette players. The line level is right around one volt.
Amplifiers don’t have radio tuners in them, and they don’t typically have many inputs labeled for different things. They just take one line-level signal and make it loud enough to power your speakers.
Receiver
A receiver is a piece of equipment that accepts inputs from multiple devices and allows you to send them to the speakers. A receiver has an amplifier inside it, and also has some extra functionality like a radio tuner and oftentimes a phono preamplifier.
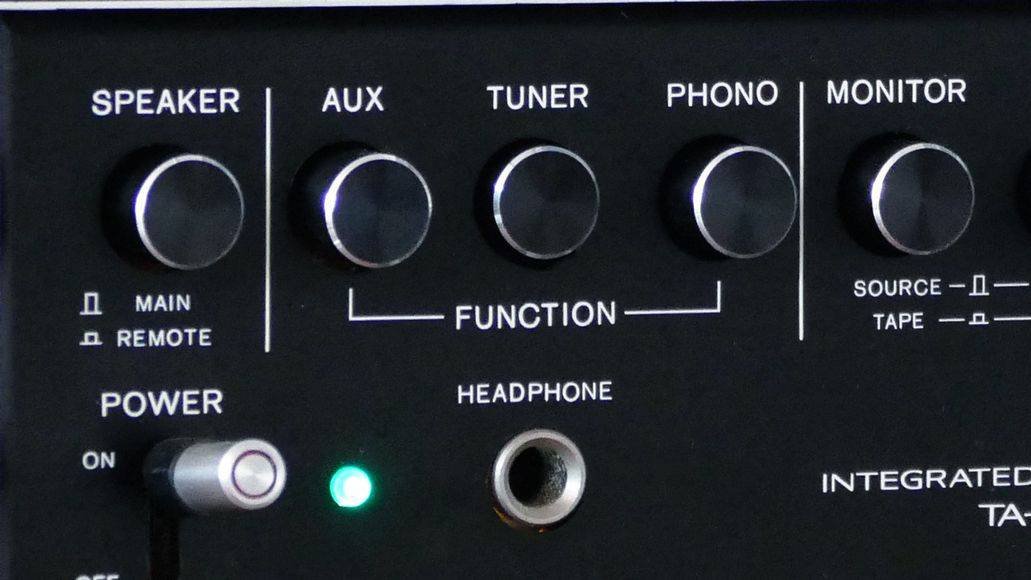
A good receiver will sometimes add a unique color or tone to the music. Some vintage receivers are known for the slight coloration they add to the sound mix.
While some purists only use pure amplifiers and do not want any additional coloration of the sound, some people like the nuance a vintage receiver can add to the mix.
I am one of those who actually prefer the slight coloration of a good sounding vintage receiver. It just seems to add a special sauce that I really enjoy.
The easiest way to remember the difference between an amp and a receiver is that receivers contain amplifiers, and amps on their own can not do anything but power speakers.
Speakers
I always recommend that you spend as much money as you can safely afford on a great pair of speakers. Speakers are one of the most important parts of your vinyl setup.
Your phono cartridge and your speakers probably make the most audible difference in your system out of all the components. Your preamp is also quite important, but it won’t matter if your speakers are garbage. Personally, I use Sonos speakers for my turntable these days.
Table Or Desk
Do not set up your turntable on a surface that has speakers on it. This will cause a serious problem with the sound. Ideally, you should not set anything else on the surface on which you plan to put your turntable.
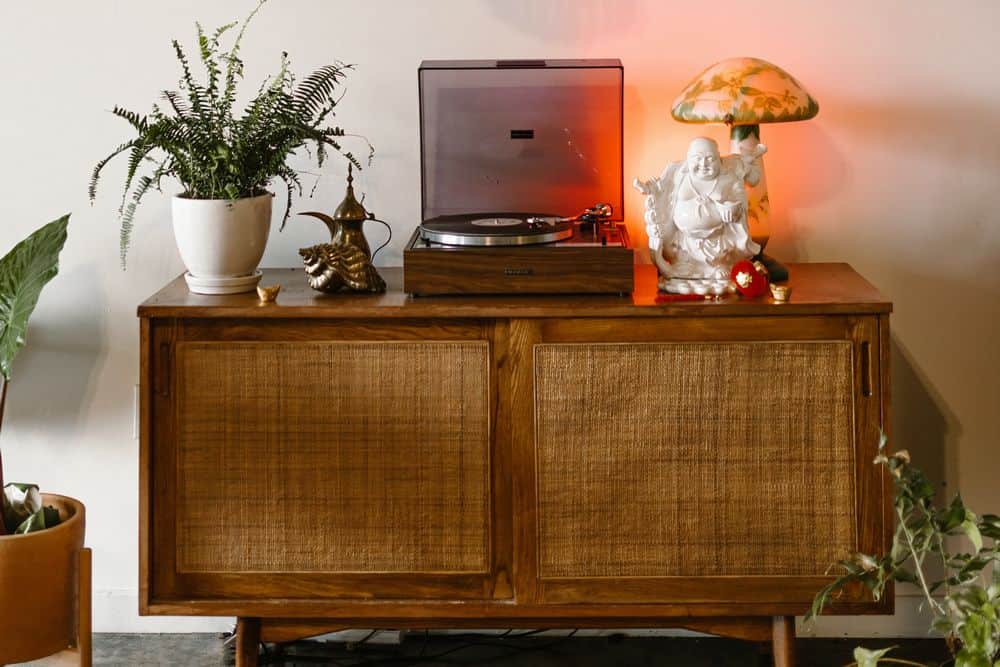
Record players are extremely sensitive to vibrations, because the cartridge is analog and uses grooves in the records (which produce physical vibrations) to make the sound.
This goes for your amp or receiver too. Do not allow anything to share a surface with your turntable. It needs its own little spot.
Speaker Cable
Even the speaker cable matters in your setup. You can choose any brand you wish, but please make sure that you are using 16 gauge speaker cable, if you are using normal bookshelf size speakers (6-12 inch).
If you are using massive floor speakers, consider using a fatter gauge. In general, 16 gauge copper speaker wire is a good choice for the size of speakers most people use.
RCA Cables
This is where I am guilty of “cheating out”. And I have paid for it. Do not use cheap, thin, flimsy RCA cables for your phono setup. Also, try not to use more than one set as an extension.
I mention this because my turntable is about 10 feet from my receiver, and I used an RCA cable coupler to extend the cable, using 2 six-foot cables.
This causes extra noise I can hear every time I play a record. To make matters worse, one of the cables I am using is a cheap Radio Shack one that is just garbage.
Learn from my mistakes. Use one RCA cable and buy a good one. Monster cable makes some affordable RCA cables that are pretty good, and so do NXG and Pro-ject. If you are spending over 16 to 20 bucks you are probably buying a decent cable.
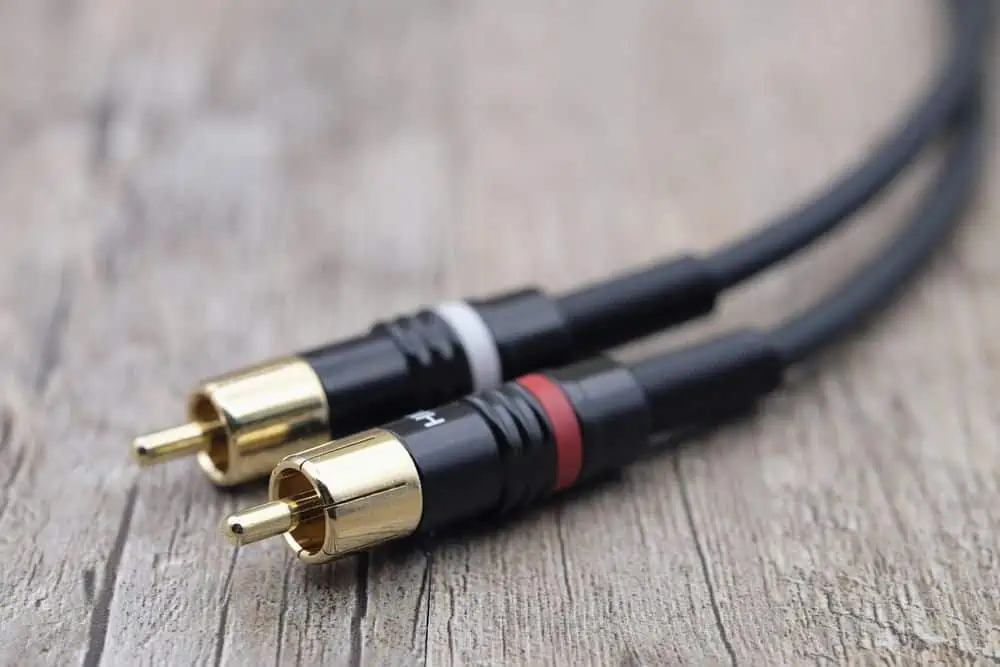
I should also mentioned that some RCA cables are made specifically for phono use and will even come with a ground cable attached.
Ground Cables
Some turntables come with ground cables. Others do not. You will need to ground your turntable either way. Ground cables are nothing fancy, and they are not expensive.
They are just copper wire much like speaker wire (in fact I use speaker wire) with a C-shaped clip on the end. You can use speaker wire and wrap it around the ground screw, but a dedicated ground wire looks better and may even work better (I will never know).
Phillips Or Flathead Screwdriver
Or you can use a butter knife if you don’t care. Sometimes there will be a ground screw on the back of your receiver that needs a screwdriver to turn it. Other times, the ground screw will be easy to grab with your fingertips. You will know if you need a screwdriver or not, once you see the back of your receiver or preamp.
Step 1: Choose Your Stand And Level Your Turntable

Find a good solid surface that will be dedicated to your turntable. It can be a table or desk, or a turntable stand designed specifically for the purpose.
Do not put the stand and record player too close to your speakers, and be sure your cats are not going to be too interested in it. If they are, make sure to play your records with the lid closed.
Once you have chosen your spot, get out a level and try to get the table or desk as level as possible, before setting the turntable on it. Luckily my floor and desk were both level already.
Set your turntable on your surface leaving some space in the back so you can access the wire ports and any switches located on the back of the unit. You could even set up a little lamp nearby, so you can see behind there easily later on.
Step 2: Connect Your Turntable To Your Preamp, Amplifier Or Receiver
OK. Now you need to decide where to plug your turntable’s phono output in. If you have a built-in preamp on your turntable (the switch will be on the back labeled phono or line), but your receiver has a dedicated input that is labeled ‘Phono’ (meaning it also has a built-it preamp), you have a choice to make.
Either use your receiver’s phono preamp or use your record player’s. It is your choice. In most cases, if you have a good receiver or a vintage one like I do, you can Google and find out if the phono input sounds good.
Most times your records will sound better using the receiver’s phono input, but you will have to give them both a try and see what you like better.
If your receiver has no phono input you will have to use your turntable built-in preamp, or a stand-alone preamp. Your choice. Either way, you will use a preamp before you hit an amplifier. To use your record player’s preamp just turn the switch to ‘Line’.
Step 2.5: Connect Preamp To Amp Or Receiver
If you are using a standalone preamp, connect the RCA cables and the ground wire from your turntable to your preamp. Make sure the switch on your record player is on ‘Phono’. Next, connect the RCA cables from your preamp to an input on your amplifier or receiver.
Step 3: Connect Your Speakers to Your Receiver Or Amplifier
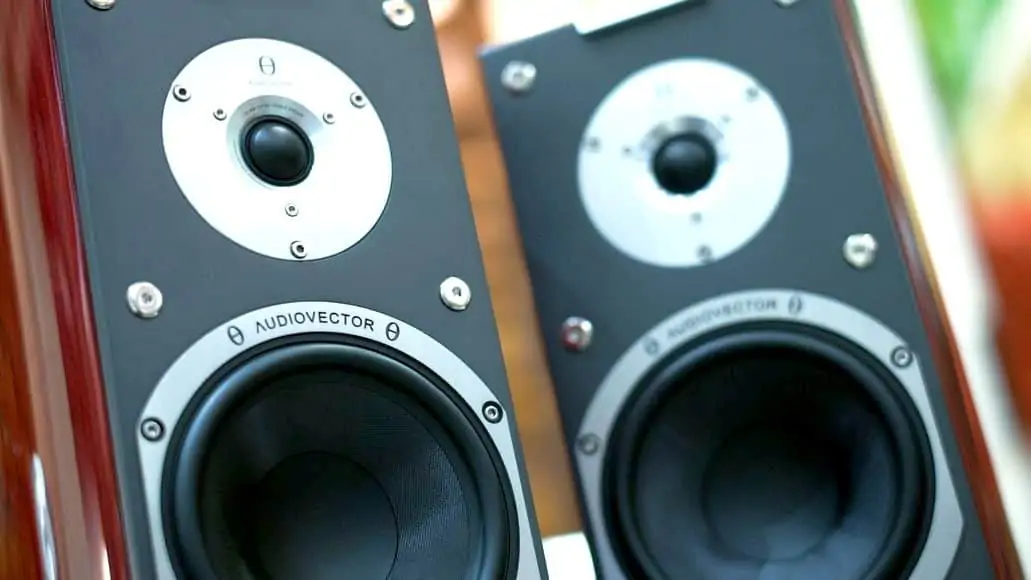
Locate the red and black terminals on your speakers (on the back). Trim the speaker wire so that there is about ¼” bare wire showing. Connect the speaker wire to the speaker terminals using the wire with the line on it for the black terminal.
Now on the back of the amplifier or receiver, terminate the speaker wires with the lined wire to the black terminal and the unlined wire to the red terminal. Do this for both speakers.
Step 4: Set Up The Turntable Itself
Complete the following tasks to get your record player ready to play records.
Level
Get your small level and set it on the turntable which should be resting on the surface you have chosen. Check to see if the bubble is on the middle line or not. There should be a way to adjust the feet of your record player. Adjust up or down as needed, until the record player is level.
Connect Cartridge
Attach the cartridge to your headshell using the two small top screws. Then connect the small wires from the tonearm to the four posts on your cartridge going from like color to like color.
Connect Head Shell To Tonearm
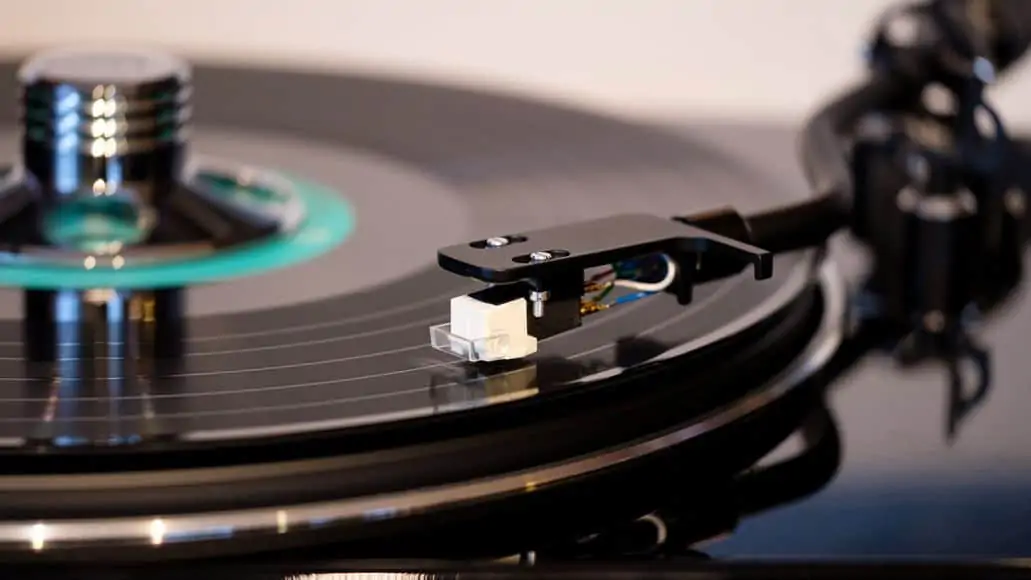
There should be a round recess at the end of your tonearm. Just slide the headshell in and use the tightening screw to secure it in place.
Balance Or Float The Tonearm
The tonearm needs to be level to start, or float, as some people say. Using the counterweight in the back of the tonearm, adjust it until your tonearm is floating level, not dipping or rising.
This takes a minute, but it is not difficult. You can find instructions on balancing the tonearm here. Once it is floating, turn the dial on the back of the tonearm to the zero position.
Set Tracking
Tracking force is the force of the stylus pushing against the grooves. Every cartridge has its recommended tracking force. Using the recommended tracking force for your tonearm, turn the dial to the appropriate position. This will usually be between 1.5 and 3.5 grams.
Err on the side of caution and do not make it too heavy, because you can wear out your records if you put too much pressure on the grooves. You can purchase a small gram scale and use it to measure the exact force you have on your headshell, if you do not want to go by the numbers on your counterweight dial.
Set Anti-Skate
Your anti-skate helps keep your tonearm from dragging on your records. Set your anti-skate to the same number as your tracking force. If your tracking force is 2.5 then your anti-skate should also be 2.5. The anti-skate is usually a very small dial near the tonearm assembly near the base.
Set The Height
There is a height adjustment on most decent turntables under the tonearm assembly. The idea is to make sure your tonearm is not too high.
A tonearm that is too high can result in your stylus hitting the groove at an angle, which will sound weird and put uneven pressure on your records. You can eyeball it to see if your stylus is landing parallel or not, and adjust your height accordingly.
Align The Cartridge
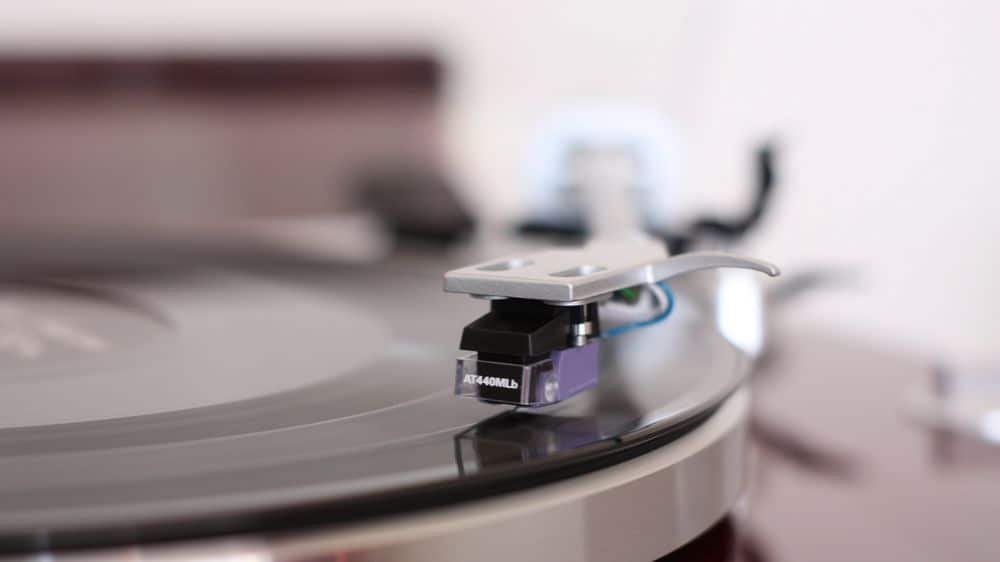
You will need an alignment protractor for this step. Don’t worry, it’s nothing fancy. It’s just a piece of paper you can download from the internet and print out. Check this site.
Place the protractor on your platter with the spindle in the hole, and adjust your cartridge until it can hit evenly on both areas. You will use the top screws on the cartridge to get this alignment just right.
Many turntables come pre-aligned so you may not have to worry about this part. Just check your instruction manual to see.
Play And Adjust
Now just plug in the record player and play some records. Make adjustments as needed. Maybe try a different preamp or try some fancier cables. Mess around with your setup until you get the perfect sound you love.
Do record players need to be plugged in without exception? No, some do run on battery power. But quality record players all need to be plugged in.
Vinyl Record Player Setup: Final Thoughts
Setting up a record player is not hard, once you know how to do it. Simply follow the steps outlined above and you will have your turntable set up and ready to play records in no time.
One thing we did not get into much in this article is isolating your record player from vibrations to ensure the best possible sound. That is because we already have an article explaining how to isolate a record players from vibration. See it here.
Leave a Reply