Yes, I suppose anyone can use them. But not everyone knows how to use one correctly.
And if you use it incorrectly, you can cause damage to a precious record.
If you’re thinking of buying a turntable, or you already have one, it is important you know how to use your record player correctly.
That’s why I decided to write an entire article on the subject.
Not only will you learn how to use a turntable, you will also learn the major components and how they work together to take sound information from a vinyl disc and bring it to our ears via a set of speaker.
I also cover some frequently asked questions toward the end of the article. If you have additional questions, feel free to leave a comment, as always.
Contents
- 1 How To Use A Record Player
- 2 How To Play A Record Player
- 2.1 Plastic Dust Cover
- 2.2 Platter Cover
- 2.3 The Platter Should Not Be Spinning
- 2.4 Placing Vinyl On The Record Player
- 2.5 Spin The Platter
- 2.6 Cue The Tonearm
- 2.7 Let The Stylus Make Contact
- 2.8 After Playing Your Vinyl
- 2.9 Check The Needle At Least Once A Week
- 2.10 Proper Use
- 2.11 Become Familiar With Your New Turntable
- 3 How To Work A Record Player: Related Questions
- 4 How To Play A Turntable: Final Thoughts
How To Use A Record Player
If you want to learn how set up a record player and use it correctly, you first need to understand its basic components.
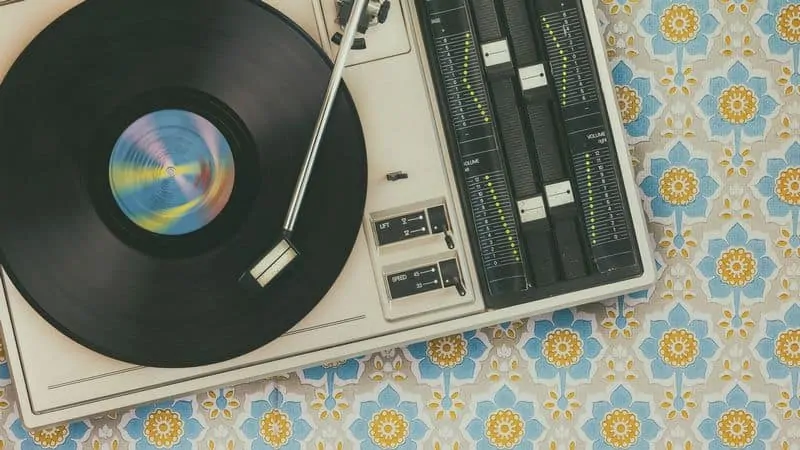
Regardless of the make or model, whether it’s a modern unit, or a vintage-style record player from the 1960s like this suitcase-style player from Wockoder, most models come equipped with the same components.
Basic Record Player Design
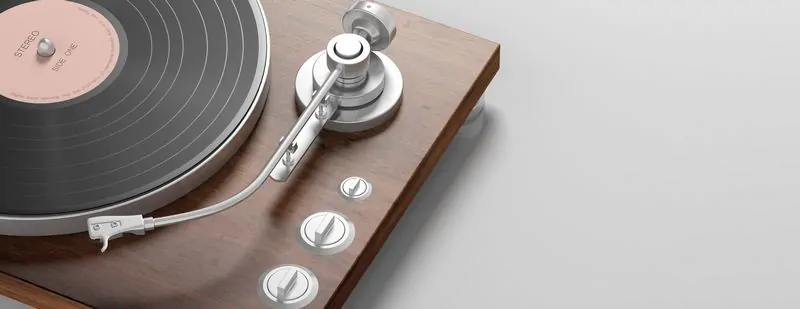
The platter, also confusingly referred to as the turntable, is one component that every record player shares. It holds the vinyl records and spins them at a consistent speed.
The record’s platter can be made out of aluminum or other type of metal. Some manufacturers will cover the platters with a thick felt or plastic in order to prevent static or scratches, which can damage a record.
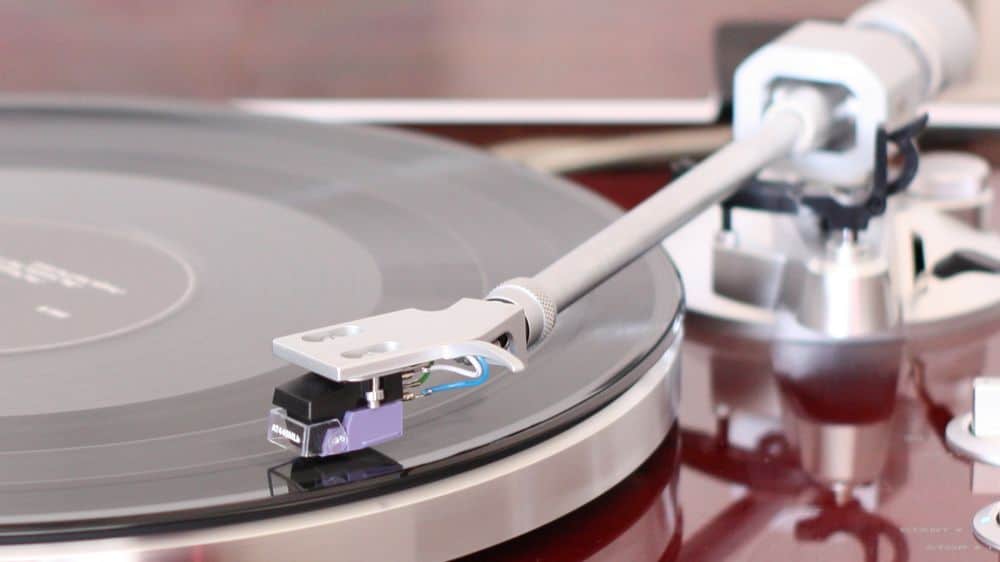
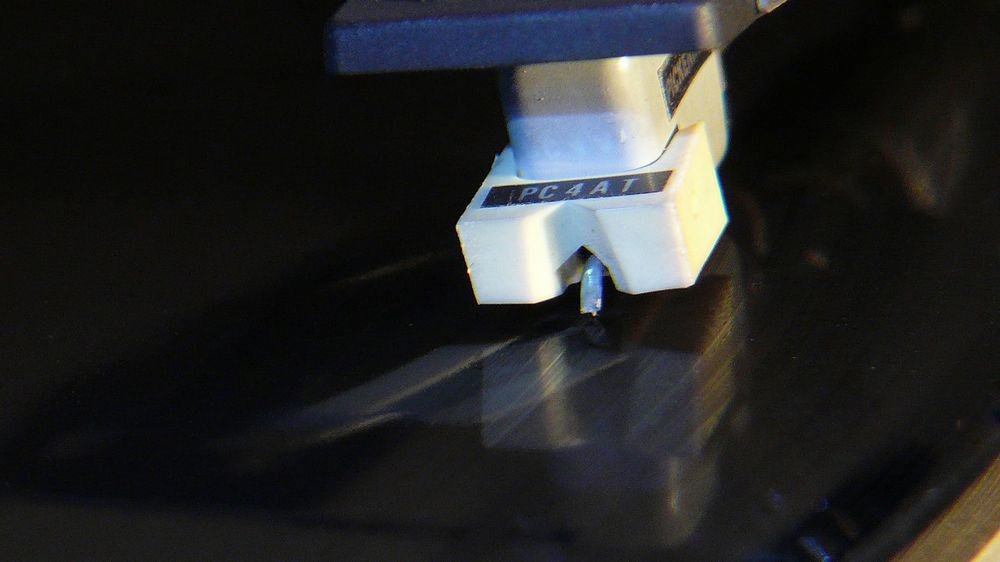
One of the most important parts on any record player is the arm. It contains two important components that are needed to play a record: the needle and the cartridge.
The needle is equipped with a diamond tip and runs along the grooves of the record, creating vibrations that are then transmitted to the cartridge.
The cartridge contains a magnetic field and transforms the vibrations into an electrical signal. This electrical signal is then amplified so that it can be sent to the speakers for output.
Some audiophiles will upgrade both the arm and the needle, using vintage or modern alternatives. This can get pretty pricey, but nothing does more to improve sound quality than a good tonearm, needle and cartridge combination.
Preamp
If you’re new to vinyl records scene and you’re looking for a your first record player, it’s usually best to start off with a turntable with a built-in preamp. There are many beginner-friendly, entry-level models that come equipped with a preamp.
If your unit does not have a built-in pre-amplifier, you will need to buy a phono preamplifier separately to convert the phono signal into a line level signal that can be processed and made ready for output to the speakers (which requires it being amplified once more in an amplifier).
Essentially, the preamp boosts the weak signal from a record player to the same level as other sound signals. Purchasing a model with a built-in preamp makes it much easier to get your player set up and ready for use. More on record player preamps here.
Speakers
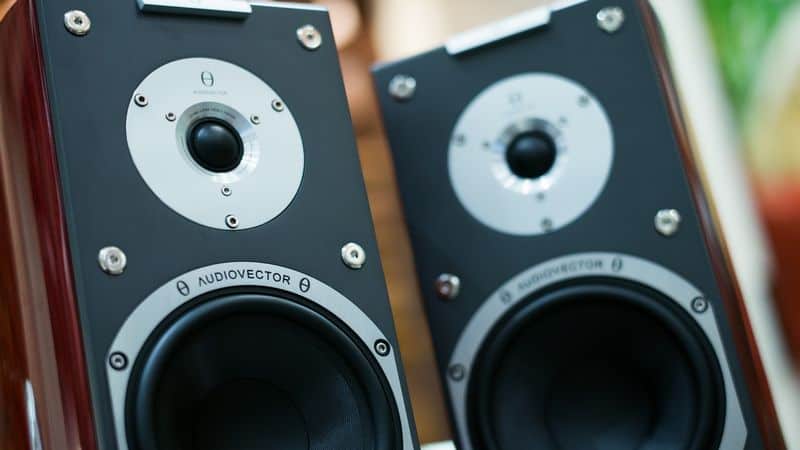
If you get a record player that comes equipped with built-in speakers, you can start listening to records right away. If not, you’ll need external speakers.
And to be honest, even if your unit has speakers, you will probably still want a good set of external speakers. The built-in speakers generally don’t get very loud and leave a lot to be desired, in terms of sound quality.
Setting up the speakers is pretty straightforward, if you have a record player with a built-in preamp. All you have to do is plug the speakers directly into the record player using the red and white RCA cables.
Some models, like the Victrola Aviator, come with a 3.5 millimeter line out jack that you can use to wire external speakers.
If you have an external preamp make sure that both the record player and speakers are hooked up correctly to the preamp. The turntable connects to the input and the speakers (or the amplifier, if the speakers are not powered) connect to the output.
Some record players also come equipped with Bluetooth connectivity, which can send music from the player to wireless speakers. Or you can stream music from a Bluetooth enabled device and play it over the record player’s built-in speakers.
Bluetooth connectivity essentially eliminates the need for extra wires and cables, so your set up will look nice and clean. It also has a longer range than any normal cable.
In order to use this feature, just connect a device or speaker to your record player using the Bluetooth setting and simply press play. That’s how easy it is.
Finally, you also have the option of connecting to a PC via a USB cable. Computer speakers are never great, so this option is far from ideal. Read “How To Play USB Turntable Through Computer Speakers” to learn how to set it up.
Record Player Speeds
Understanding the different speed options for your record player, and the different types of discs, is also important.
Records are designed to play at a few different speeds; 78, 45, and 33 1/3 RPM. The speeds are measured based on the number of rotations the record will make per minute. This is referred to as rotations per minute, or simply RPM.
The majority of the time you’ll probably listen to full length albums, which measure twelve inches in diameter. These records are designed to spin at 33 1/3, which is the default setting for most turntables.
If you want to play a twelve-inch record, then you won’t even need to worry about adjusting the speed. However, if you want to play a seven-inch record, then you’ll need to adjust the speed to 45 RPM. If you don’t, it will sound distorted.
78 RPM records were produced way back in 1895 up until 1955 and aren’t in production these days, so you probably won’t have to worry about dealing with 78s, unless you possess very old records.
Many new models don’t even come with a 78 RPM speed option. They just couldn’t hold a lot of music.
How To Play A Record Player
Playing a record on your new turntable may seem simple enough, but there are a number of mistakes that many beginners tend to make. Mistakes that end up damaging the stylus, platter, or their vinyl records.
Below, you’ll find basic tips that walk you through the process of setting up your turntable and playing a vinyl record the right way. If you follow these tips, you will avoid damaging your player or your vinyl discs.
Plastic Dust Cover
The first step is lifting up the turntable’s dust cover, if it has one. I realize this is obvious but I want to be thorough. And it may not be obvious to everyone.
Most models come equipped with a plastic dust cover that protects the platter and other components from dust, dirt, and any other type of debris that could cause record player skipping and impact performance. If you own a model with a hinged cover, raise the cover to place the record on the platter, then lower it again as your record spins.
If you have a cover that isn’t hinged, then place it somewhere until you’re done playing vinyl. This type of cover should not be placed on the turntable when you’re playing a record because it can damage the vinyl.
Platter Cover
Some models have an additional dust cover, that’s specifically designed for the platter. These covers are made out of felt and fit perfectly over the platter. They are designed to provide further protection against dust. Remove this cover and place it on a clean surface.
The Platter Should Not Be Spinning
You’re almost ready to start playing some music. But first, make sure the platter isn’t spinning. Some models have a separate switch you can flip to start the platter spinning, while others automatically start to spin once you’ve lowered the tone arm.
When you’re placing a record on the platter, make sure it’s not moving and the tonearm is still raised and out of the way. If you place a record on a platter while it’s spinning, it will scratch the surface.
Placing Vinyl On The Record Player
Now you’re ready to play some vinyl. Carefully place the record on the platter. Make sure you’re only holding the vinyl along the edges. Always take care when handling a vinyl record.
Place the spindle through the center of the disc and continue to lower it until it’s resting on the platter. Avoid touching the grooves of the record, since the oils on your fingers can interfere with the needle and have an impact on sound quality.
That’s why you should always only hold a record by the edges. Even when you take it out of its jacket, you should try your best to avoid making contact with the playing surface. If you need to touch the surface to remove it from the jacket, try to only touch the vinyl’s outer portion where there are no grooves yet.
Most models have a metal turntable with a rubber mat or foam mat placed on top. The mat provides much-needed protection for the disc. Never play a record if you don’t have a mat.
Since records come with an A and a B side, make sure you place the record on the correct side, based on the song you want to play. If you are using a vertical record player, make sure the record is locked in place and can not fall off.
Spin The Platter
Flip the switch to cause the platter to start spinning. The controls vary from model to model, but most have a switch to engage or disengage the motor that drives the platter.
With some setups, this switch also controls the record’s speed. If your turntable has these controls, then you’ll have two or three speed options in addition to the off position. With other models, the record speed options may be controlled by a separate switch.
If you have an automatic unit, in which the platter starts to spin once you lift the tonearm, then you won’t need to turn on the platter with a separate switch before lowering the tonearm.
Cue The Tonearm
Next, lift the tonearm. Most models have a cueing feature. This feature allows you to turn on the switch that lifts the tonearm and places it on the vinyl automatically.
Other models have a cue leveler which is used to lower and raise the arm. If your model doesn’t have a cue switch, then lift the tonearm off the rest and put your finger under the handle.
Make sure that the cueing lever is up. This lever raises and lowers the tonearm. You need the arm or switch to be up so that the tonearm doesn’t accidentally fall straight onto the vinyl as you move it from its resting spot.
Place the tonearm above the first groove. The stylus on the tonearm must be directly positioned over the outermost groove. You’ll notice three or four widely spaced grooves located along the outer perimeter. These grooves indicate the place before the music begins.
If your model has a cueing lever, then you can simply push the tonearm into place using your fingers. The tonearm will stay hovering above the vinyl until you disengage the lever or switch.
Let The Stylus Make Contact
Next, you’ll carefully lower the stylus onto the vinyl. Gently lower the tonearm onto the outer grooves. The needle will engage the grooves with a small clicking sound. After that, the record should start to play.
Skipping Tracks
Can you skip songs on vinyl? Yes, you can. If you want to skip a track on a record, you’ll follow the same process that I discussed above, except you place the arm above the beginning of the track you want to hear, and not above the beginning of the record.
You may notice that there are thin segments that look different from the rest of the vinyl record and form circles. Each of these circles is the dead space between two tracks.
Most beginners are scared to change tracks at first, since doing so incorrectly can result in a scratched record.
But if you go slow and become familiar with the way your record player works, you should have no trouble getting the hang of jumping from track to track.
After Playing Your Vinyl
When you’re done playing vinyl, place the tonearm back into its appointed resting place. You can lift the tonearm manually or by engaging the cueing switch. If you have a fully automatic turntable, then the tonearm will return to its resting place on its own.
Before you stop the platter from spinning, make sure that the tonearm is already back in its resting spot. The tonearm should never be left resting on the vinyl since this can apply pressure to the grooves, which can lead to serious damage.
If you want to listen to the other side of the vinyl, just flip it over and use the same process. If you’re finished playing music, replace the felt dust cover on the platter (if you have one), and then the permanent plastic dust cover.
Sometimes you may need to stop the turntable before the record has finished playing. In that case, I have an article detailing the best way to stop a record player.
Check The Needle At Least Once A Week
To prevent a dip in sound quality or damage to your vinyl collection make sure that both the platter and needle are free from dust. Both components tend to be dust magnets, especially the needle.
The needle on the tip of the tonearm tends to easily collect dust. If it has a dust cap, make sure you place it over the needle after you’re done playing vinyl for the day.
If you do find dust on the stylus, you’ll need to do some basic record player maintenance. This involves using some rubbing alcohol, or another type of safe cleaning solution, and a brush designed specifically for needles. Dip the brush in the solution and use it to gently wipe off the needle using a back to front wiping motion.
Does playing scratched records damage the needle? No, but if you continuously play severely damaged records, it does wear down the needle. Eventually, you’ll have to replace the stylus.
Proper Use
Make sure you always carefully follow the steps I’ve included here to operate your turntable properly. While it may seem like a lengthy process, it is worth it, because it can lengthen the lifespan of your turntable.
To sum up:
- The dust covers should be removed before use and replaced after each use.
- Never begin spinning the platter before you place the record.
- Wait for the platter to come to a full stop before you remove the vinyl.
- Operate the stylus and needle correctly.
- Avoid abruptly removing or dropping the needle
- Always use the cueing arm.
- Avoid touching the surface of a record when possible.
- Records should be stored in a dry spot, vertically
- The turntable should be placed on a level surface to prevent uneven wear to your vinyl
Become Familiar With Your New Turntable
If you don’t know how to properly use a record player, make sure you’re familiar with all the different controls and components of your turntable, before you begin playing your records. Reading the user’s manual from cover to cover is the best thing you can do to familiarize you with the different controls and how they can impact your playing experience.
Even before that, you want to make sure you know how a record player works and that you purchase the right type, based on your budget and playing needs. If you’re a casual listener and on a budget, choose a reasonably-priced beginner-friendly model.
There are a few good options that are equipped with top of the line components and a durable design to ensure your record player lasts a long time. I recommend this model from 1byOne.
How To Work A Record Player: Related Questions
Next we will answer some common questions on playing record players. If you have any additional questions, please ask them in the comments below.
How Do You Store Vinyl?
Storing vinyl correctly prevents damage to your record collection, such as scratches or warping. Records are very fragile and can easily be damaged if you fail to take the necessary steps to protect them. This is a huge deal, if you have any priceless first pressings.
To store them correctly, make sure you keep them upright and avoid stacking them. When stacked, the weight of the records can cause warping.
Does Tracking Lightly Preserve Records?
The needle must make good contact with the record, but it shouldn’t be too heavy. At the same time, it the contact can’t be too light either. If you track too lightly then the needle will end up bouncing around in the grooves which is bad and can lead to damage.
Ideally, you should track at the top end of the recommended tracking force. Remember, when you track too lightly it can end up causing as much wear and tear as tracking too heavily.
Do I Need to Clean My Vinyl?
Many people mistakenly believe that the hissing and cracking sounds they hear when they play a record are normal. These sounds actually point to a dirty record.
In order to avoid these sounds, you must clean your vinyl regularly. To do, you can use a brush that’s specifically designed for records. These brushes are made up of thin carbon fibers which do a great job of getting the dirt and debris out of the grooves of your vinyl.
You can also use a specific record cleaner fluid combined with the brush in order to get deep down into the grooves. You’ll notice a difference in sound quality immediately after you’ve cleaned your records.
The most important thing when cleaning your record is to follow the proper procedure, to avoid causing damage.
This post covers the whole cleaning process from start to finish.
Cleaning the needle can also have an impact on sound quality. A dirty needle can make your records sound terrible. There are plenty of brushes and products to choose from that are specifically designed to clean the needles on your record player.
The needle will not need to be cleaned as often as your vinyl, but if you’ve cleaned your records and you’re still noticing a dip in sound quality, then the odds are a dirty needle is to blame. To learn more, read my article on record player maintenance.
How To Play A Turntable: Final Thoughts
Now that you know how to use a record player, the speed to set it at and how to play a record without scratching it, you can get started on your path as a new audiophile.
Remember, change up the speed of the record player based on the size of the record you’re playing, carefully touch the needle to the surface of the record in order to avoid scratching it, and always keep your vinyl clean for ultimate sound quality.
When I turn the turntable on and play the record, the turntable moves up and down (like wobbles). Is this normal when playing 33’s?
Thank you
Debbie
It’s not uncommon with inexpensive models, but it’s not what you want. It should not wobble.
Check to see whether it’s the turntable platter or the record (vinyl) itself that’s wobbling. You might be describing a badly warped record. This happens with poor storage (heat, for example) or in the production process.
We don’t get sound when we play a record. I did have to buy a replacement adapter. Could it be that I bout the wrong something? The record player turns on and spins. We hear some music but very faint.
You may need a preamp.
The phono cartridge — which supports the needle (stylus) also converts the grooves (squiggles) into sound by means of an electro-magnet. But this small device doesn’t provide enough amplification to play to your speakers through a receiver (or amplifier, or powered speaker). You need what’s called a “phono preamplifier” which is designed to amplify the cartridge’s tiny signal to the equivalent of a “line-level” device, like a tuner, CD player, or tape deck.
If there’s no front-panel selector switch labeled “Phono,” you can buy a simple “phono preamplifier” separately for as little as $40, although there are some budget models starting at about $140.
The “phono preamplifier” should last a lifetime and can be moved as you improve or upgrade your other equipment.
How do i get my record to start from the “beginning” of a song?
Which gives the better sound, a CD or a vinyl record?
Thank you for helping me to understand that it is important to avoid stacking your vinyl records. I am wanting to start a record collection since I am wanting to listen to music more often. I will have to find some kind of shelf that I can use for storing records so that I don’t have to stack them.